gorillaprops.blogspot.co.uk/
gorillaprops.deviantart.com
twitter.com/gorillaprops
facebook.com/gorillaprops
Gorilla Props is where I'll be posting from now on.
I've changed the name and will no longer be posting here, bummer I know.
Tuesday 4 June 2013
Monday 11 February 2013
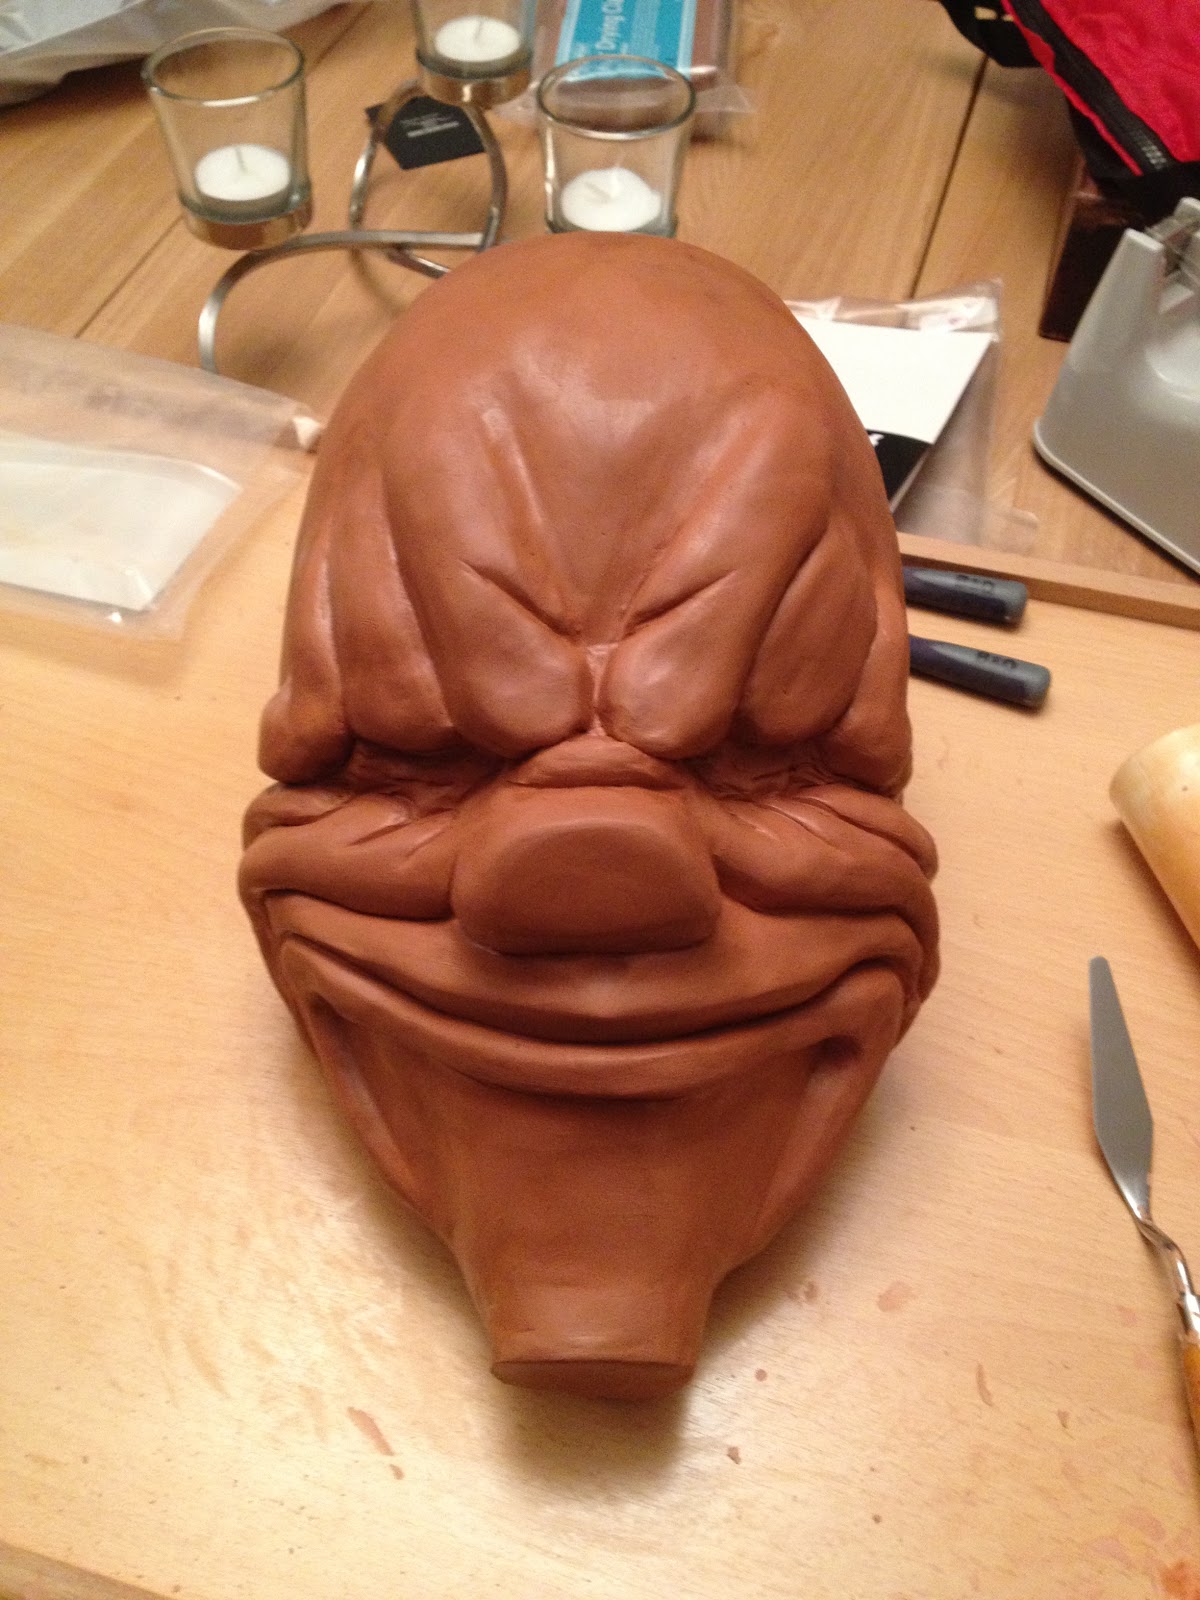
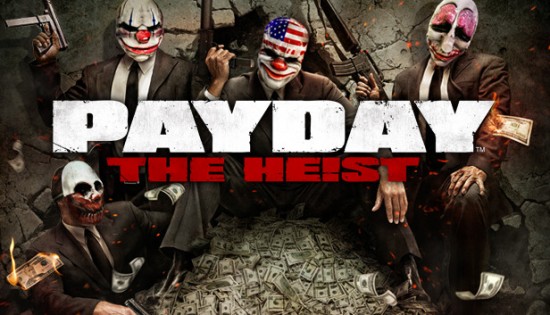
PAYDAY: The Heist Hoxton

Time for the 4th and final mask. Hoxton. My favourite out of the bunch.
I wish I knew of another method I could of used to make this mask just to make these
blog posts alittle more interesting, but I do not...
Anyway heres some progress pictures and the final piece.


I wanted to show the difference that the lacker makes to the final piece.
Without Lacker

With Lacker

The "crew" together at last.

Thursday 25 October 2012
PAYDAY: The Heist Chains

It's time for the 3rd installment of these PAYDAY costumes. For chains I yet again used the same method as the previous two masks.
Lather, Rinse, Repeat, Lather, Rinse, Repeat, Lather, Rinse, Repeat... I'd just like to say sorry for the lack of information and images, I wasn't very good at doctumenting these at the time as the 3 masks were being worked on back to back.
Clay Sculpt of Chains


Casted, Trimmed, Sanded, Painted

The three masks together :)


Next..... Hoxton
PAYDAY: The Heist Dallas
After completing Wolfs mask it was time to start on Dallas, I used the same method as I did with Wolfs, Lather, Rinse, Repeat....
A quick look at the sculpting progress...


Then casted, primed and painted

Final mask finshed :D


Monday 22 October 2012
PAYDAY: The Heist Wolf

This is the sculpt next to the first pull I got out of the silicone mould.

Primed and Painted White.

The top was taped and the bottom painted RED.

Then the eye sockets where painted black and the red section darkened.

The last bit of shading and distressing was done with black
and then it was given a few coats ofclear lacquer.
And that was it 1 mask down... 3 more to go.
Monday 9 January 2012
Combine Civil Protection Officers
Many, many millennia ago I started work on 3 Combine Civil Protection Officer (Metro Cop) helmets.
I thought since I started a blog I might as well make the first post about the C.P.O helmets I made.
This piece started life as a 3D file known as a Pepakura file which is printed out on card and put together. Which is then fiberglasses fills and or coated with carfiller sanded shaped and rounded (depending on the amount of polygons) and painted with primer.

This is a Pepakura file that as been painted with fiber glass resin and filled with an inch of carfiller.


Then I use just a bit of carfiller to fill in the minor holes and dips before I start moulding and casting.


After this silicone rubber has been applied then I started with the mould shell, this is to keep the silicone inplace while slush casting sing liquid plastic.


Next I poured plastic into the mould and slushed it around, de-mould and trimming the plastic pulls

*****************************************************

Finised The first attempt.


2nd Suits

I then decided that I wanted to make it more game accurate, BUT this project so far had taken about 2 years and there are other projects that I want to do. I tried moulding the piece you see above but for some reason the silicone didn't settle right. So as for now I've put this project on hold I'm not even sure if I'll ever get this piece to the point I want.
Subscribe to:
Posts (Atom)