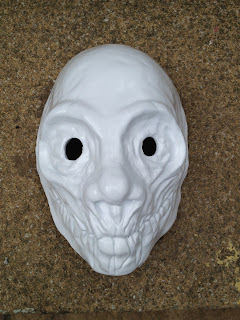
Many, many millennia ago I started work on 3 Combine Civil Protection Officer (Metro Cop) helmets.
I thought since I started a blog I might as well make the first post about the C.P.O helmets I made.
This piece started life as a 3D file known as a Pepakura file which is printed out on card and put together. Which is then fiberglasses fills and or coated with carfiller sanded shaped and rounded (depending on the amount of polygons) and painted with primer.
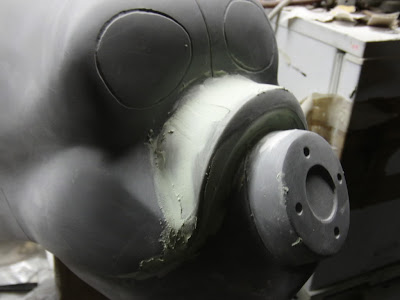
This is a Pepakura file that as been painted with fiber glass resin and filled with an inch of carfiller.
Then after alot of filler and sanding and filler and sanding and filler... you get the idea.
Then I use just a bit of carfiller to fill in the minor holes and dips before I start moulding and casting.
After this silicone rubber has been applied then I started with the mould shell, this is to keep the silicone inplace while slush casting sing liquid plastic.
Next I poured plastic into the mould and slushed it around, de-mould and trimming the plastic pulls
*****************************************************
Finised The first attempt.
After I decided to expand the back for an easy and more comfortable fit and altering the front for more of an accurate in game look.
Primered and ready for moulding, casting, painting and fitting.
2nd Suits
I then decided that I wanted to make it more game accurate, BUT this project so far had taken about 2 years and there are other projects that I want to do. I tried moulding the piece you see above but for some reason the silicone didn't settle right. So as for now I've put this project on hold I'm not even sure if I'll ever get this piece to the point I want.


